Photo wall is a place that can highlight the taste of the owner. Why not design it yourself? That will be your unique photo wall. In this article, we will introduce some collocation methods and techniques for DIY photo wall.
How To DIY Photo Wall - DIY Wall Décor Ideas
Determine What You Like
The first step is to determine your favorite theme, printmaking? Cat? Photography? Or some color? The choice of decorative painting reflects your interest and is an extension of your inner world.
Composition Of Decorative Painting
Choose conventional array
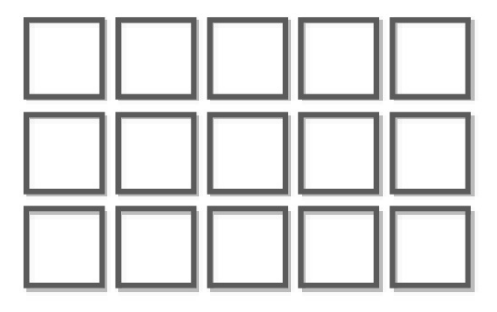
▲ 1. Highlight the overall clean sense of space
Tips: if there are few pictures, it is recommended to use odd rows. This method does not cost brain cells and is very versatile. It is suitable for conservatives.
There are some changes based on the array
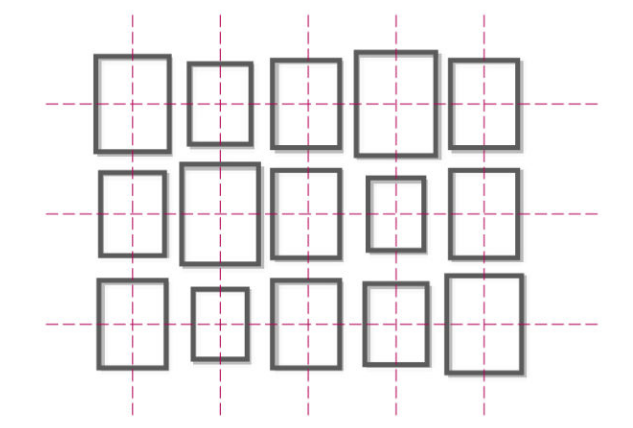
▲ 2. There are some changes in the whole
Find a baseline to align
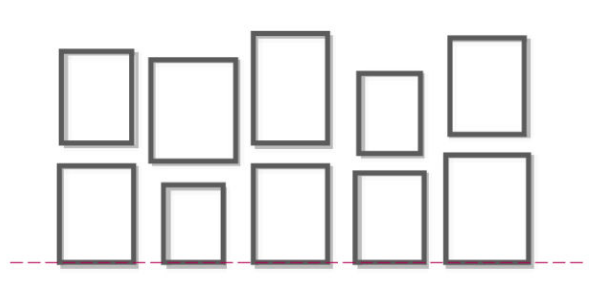
▲ 3. There is a certain distance from the ceiling, and the space feels an upward extension.
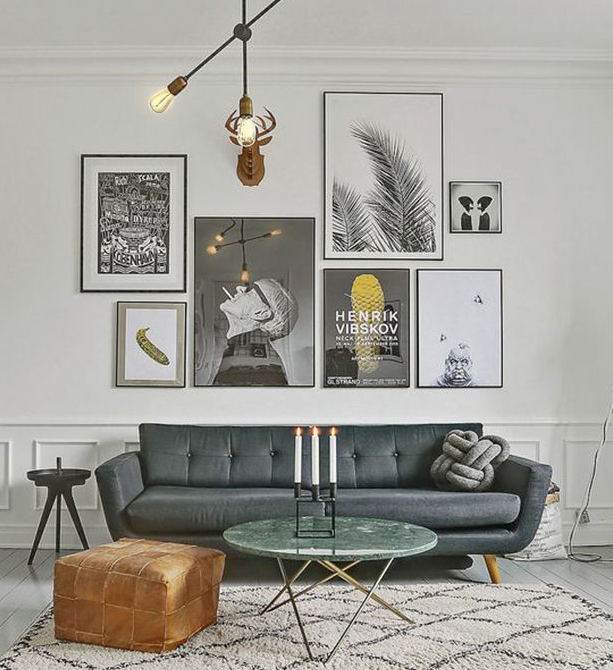
▲ 4. Align the sofa as a reference.
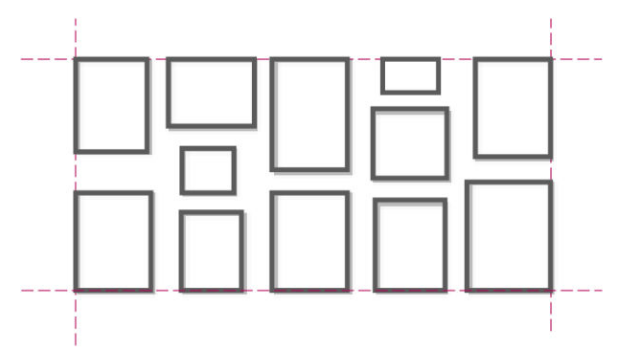
▲ 5. The beauty of tidiness and symmetry.
Random distribution should also have principles
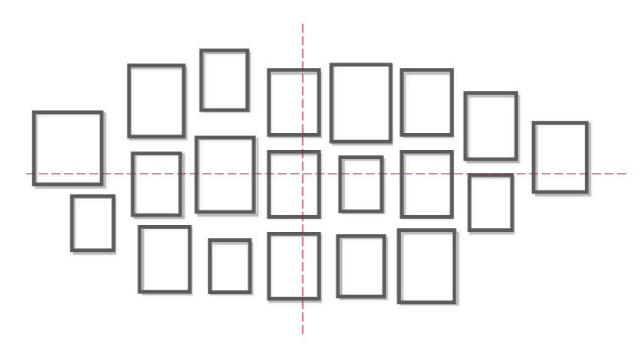
▲ 6. Since it is DIY, it is recommended that this random combination can better highlight the personality
- Tip 1: The distance between paintings should not be less than 3cm to ensure that each painting is outstanding.
- Tip 2: Draw two center lines. The areas of the left and right photos below the center line are symmetrical, so that the center of gravity will not deviate.
The middle is large and the surrounding is small
- Tips: Choose a larger decorative painting as the visual center.
In terms of plane composition, this primary and secondary relationship must be clearly distinguished. When people see the photo wall in the room, they should have a focus point, so this focus is reserved for the largest size. Otherwise, you will not find a foothold.
▲ 7. The decorative painting in the middle is used as the visual center, and the left and right sides are symmetrical
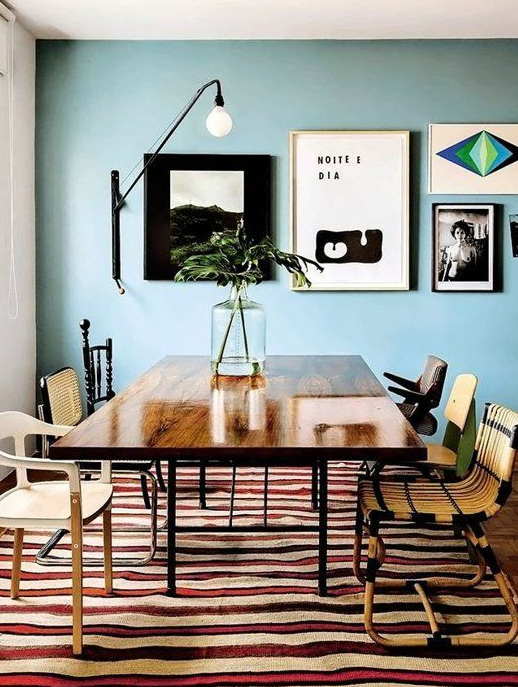
▲ 8. Size contrast, black-and-white contrast, and blue echo.
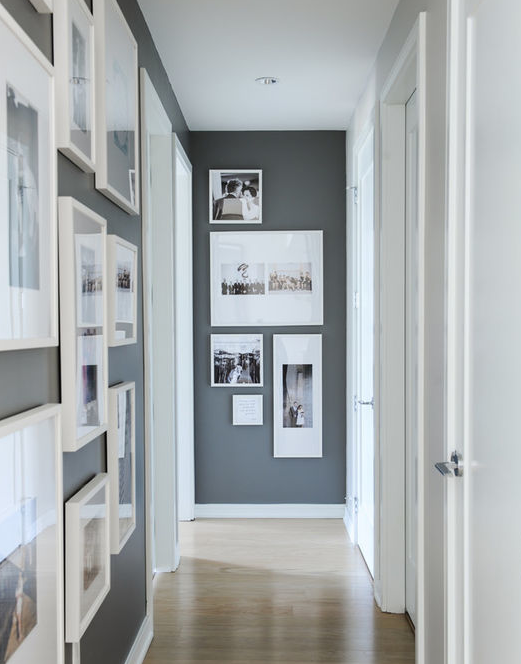
▲ 9. Also suitable for vertical composition
Order the shelves neatly
You can also nail one or two rows of very narrow partitions directly on the wall to arrange your works randomly in turn. Because our decorative paintings are flush, we don't have to worry about the composition.
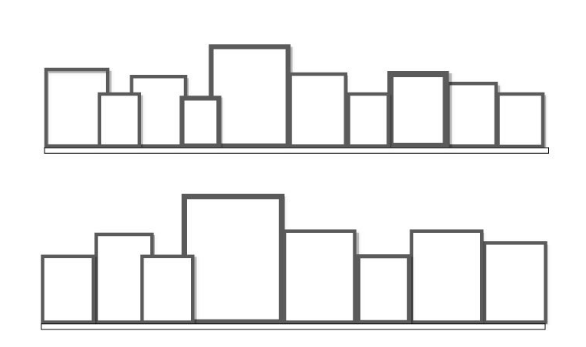
▲ 10. There are at most two rows of decorative paintings in the space above the sofa.
Tips: there must be enough space between the decorative painting and the partition or ceiling, otherwise it will appear crowded and not transparent enough.
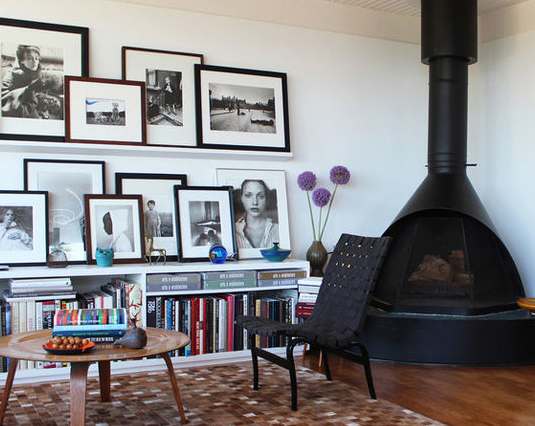
▲ 11. Bookshelves and low cabinets can serve as partitions for decorative paintings.
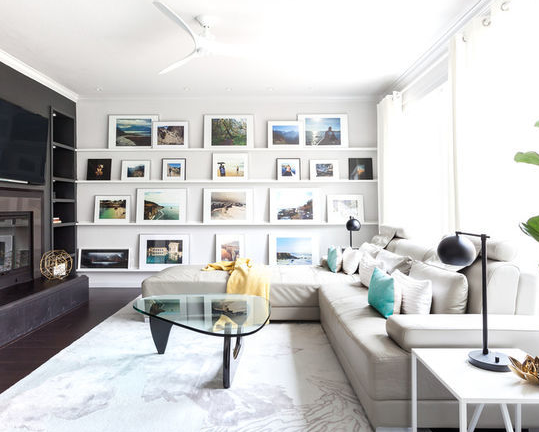
▲ 12. The three rows of the whole wall feel like an Artist Gallery.
▲ 13. If you don't know how to deal with a big white wall, you can try this method.
Tips: When the upper and lower space of the decorative painting is very limited, you might as well leave more space on the left and right.
Frame With Consistent Style
If your decorative painting style is quite different in hue, I'm afraid it won't look good if you can't match it. Then use frames with similar styles and colors to mount them, so that they can be easily unified.
▲ 14. It is easy to unify different styles and sizes of paintings by mounting them with black picture frames.
Echo With The Existing Colors In The Room
▲ 15. The color of one of the decorative paintings echoes the pillow carpet, and the golden red makes the atmosphere of the whole room lively and jumping.
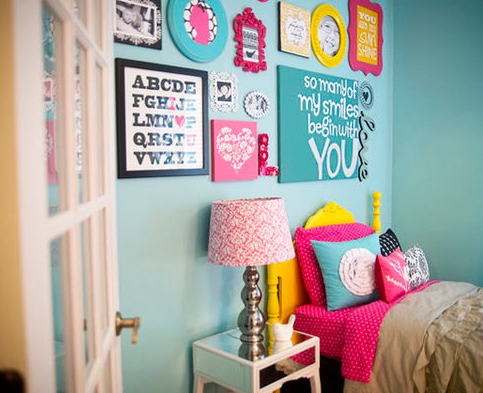
▲ 16. Decorative paintings and bedding are blue and purple.
Increase The Brightness Of The Room
Tips: For small rooms or corridors with insufficient lighting, you can use decorative paintings on the mirror to increase the reflection, which not only increases the brightness of the room, but also makes the whole room look more spacious and bright.
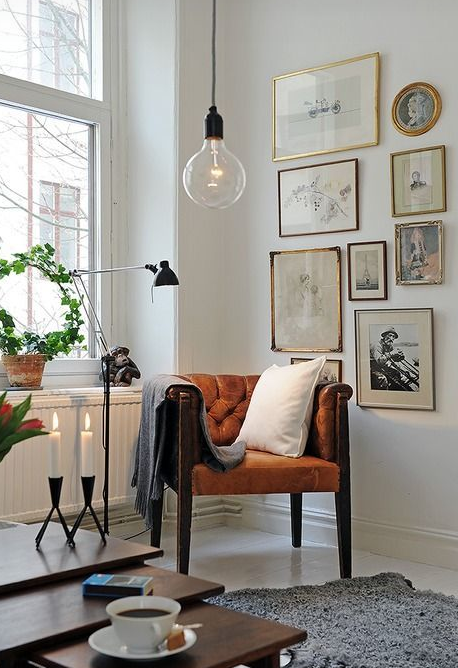
▲ 17. Use bright golden picture frame and reflective glass to create a transparent atmosphere.
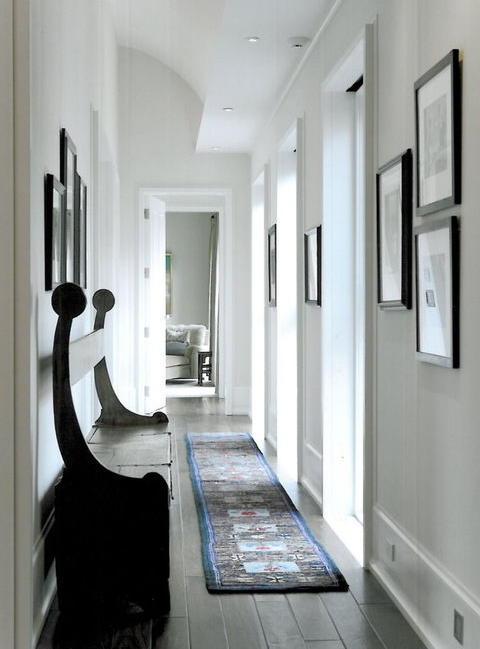
▲ 18. The light outside the corridor shines on the decorative painting, and then reflects into the room, increasing the brightness of the corridor.
Practical Operation
▲ 19. Put the decorative picture on a large newspaper on the ground
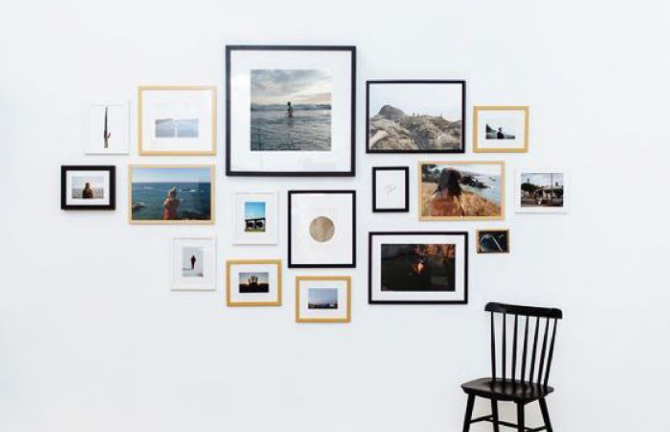
▲ 20. Cut it according to the arranged position and stick it to the wall with adhesive tape. Then you can start nailing nails
▲ 21. Success
Tips: The distance between the horizontal center line of the whole photo wall and the ground should be 1.5m, because it is just the visual center of people.
 EN
EN FR
FR PT
PT AR
AR
