EN
EN FR
FR PT
PT AR
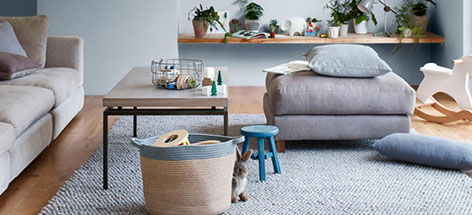
ARA balcony is a great space to relax and enjoy the outdoors, but it can quickly become a headache if it is not properly waterproofed. Water damage can occur, which can lead to costly repairs and maintenance. In this article, we will discuss the steps involved in waterproofing a small balcony for tile.

Assessing the Balcony
Before starting the waterproofing process, it is essential to assess the balcony's current condition. Start by examining the balcony's structure to determine if any underlying issues need to be addressed before proceeding. Next, identify potential water entry points, such as cracks or gaps, and check for existing damage or deterioration. Addressing these issues before starting the waterproofing process will prevent any further damage to the balcony.
Choosing Waterproofing Materials
There are two main types of waterproofing materials - liquid membranes and sheet membranes. When selecting materials, consider factors such as durability, ease of application, and cost. Liquid membranes are easy to apply and are a great option for small balconies. Sheet membranes are more durable but require professional installation. Comparing the pros and cons of each type will help you make an informed decision.
Preparing the Balcony Surface
The balcony surface needs to be properly prepared before applying the waterproofing membrane. Start by cleaning the surface thoroughly to remove any dirt, debris, or grease. Next, smooth out any uneven areas and patch any cracks or holes. This will ensure that the waterproofing membrane adheres properly to the surface.
Applying the Waterproofing Membrane
Preparing the surface for membrane application is critical to ensuring a proper seal. Start by applying a primer to the surface, which will help the membrane adhere better. Next, apply the waterproofing membrane, ensuring complete coverage. It is essential to follow the manufacturer's instructions carefully when applying the membrane.

Sealing Joints and Edges
Identify areas that require sealing, such as joints and edges, and apply a sealant to these areas. This will prevent water from penetrating these areas and causing damage. Be sure to check for any gaps or areas that require adjustments and make the necessary repairs.
Adding Drainage
Balcony waterproofing is not complete without proper drainage. There are various balcony drainage systems available, such as point drainage and linear drainage. Installing a drainage system will prevent water from pooling on the surface and damaging the waterproofing membrane.
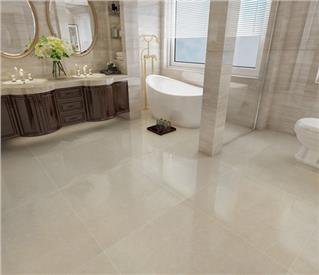
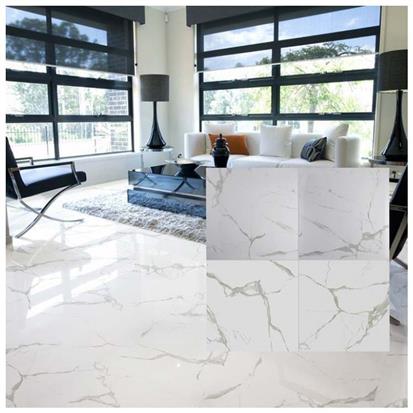
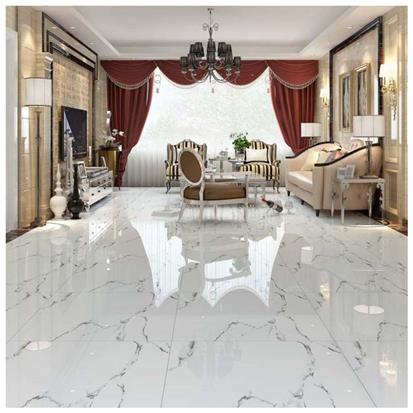
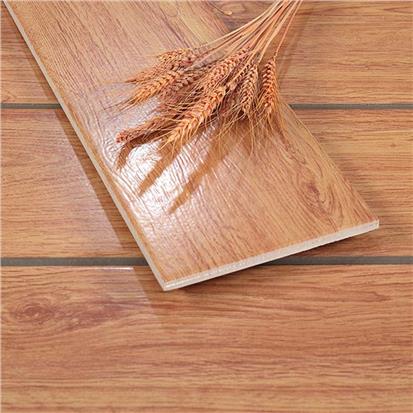
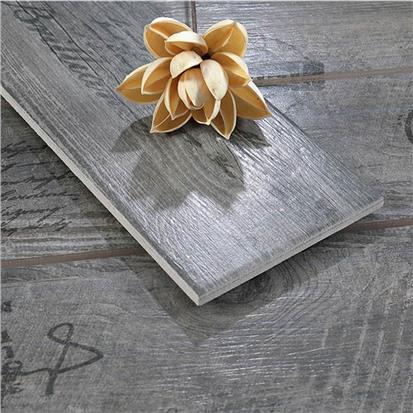
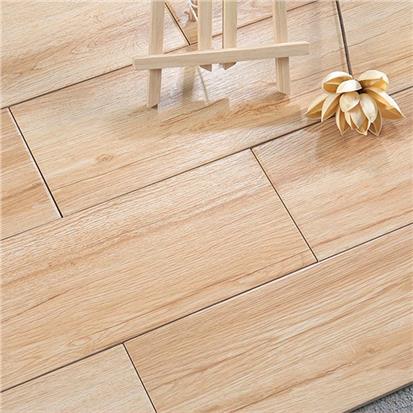
Choosing and Installing Tile
Once the waterproofing membrane is fully cured, it's time to choose and install the tile. When selecting tiles, it's important to choose tiles that are rated for outdoor use and are slip-resistant.
Before installing the tiles, it's important to ensure that the surface is clean and free from any debris. Tile adhesive should be applied evenly to ensure that the tiles are securely attached to the surface.
Grouting the Tile
Grouting is an essential step in balcony waterproofing to ensure that there are no gaps between the tiles where water can seep through. When selecting grout, it's important to choose a grout that is rated for outdoor use and is waterproof.
The grout should be applied evenly and smoothed out to ensure that there are no gaps or holes. Any excess grout should be removed immediately to prevent it from drying on the surface.
Caring for the balcony during the curing process
During the curing process, it is important to avoid placing any weight or heavy objects on the balcony surface to prevent damage or misalignment of the waterproofing membrane. In addition, it is recommended to limit foot traffic on the balcony and to avoid exposing the surface to direct sunlight, extreme heat or cold, or excessive moisture. Any debris or materials should be removed promptly, and any spills or stains should be cleaned up immediately to prevent damage to the waterproofing membrane. It is also important to follow any specific curing instructions provided by the manufacturer of the waterproofing materials used.

Testing the Waterproofing
Once the waterproofing membrane has cured completely, it is important to conduct a water test to ensure that the balcony is completely waterproof. To perform a water test, simply pour a small amount of water onto the surface of the balcony and observe for any signs of leakage or seepage. If any leaks or seepage are detected, it is important to make necessary repairs as soon as possible to prevent further damage. A professional waterproofing contractor can also perform a more thorough water test using specialized equipment to detect any leaks or moisture intrusion.
Maintaining the Waterproofing
Regular maintenance is key to keeping the waterproofing on a small balcony in good condition and extending its lifespan. Recommended maintenance tasks include inspecting the balcony surface regularly for signs of wear, damage, or deterioration, cleaning the surface regularly to remove debris and prevent mold or mildew growth, and reapplying any necessary sealants or coatings. It is also important to address any issues as soon as they arise, such as repairing cracks or holes or replacing damaged tiles. Hiring a professional waterproofing contractor to perform regular maintenance and inspections can help ensure the longevity and effectiveness of the waterproofing system.
Waterproofing a small balcony for tile requires careful preparation, selection of appropriate materials, and attention to detail during the installation process. By following the steps outlined in this article, homeowners can ensure that their small balcony is effectively waterproofed and protected against moisture intrusion and damage. It is important to keep in mind that more complex balcony waterproofing projects may require the assistance of a professional waterproofing contractor, who can provide specialized expertise and equipment to ensure a successful and long-lasting waterproofing system.


 16
16


- 3


- 8

- 8