EN
EN FR
FR PT
PT AR
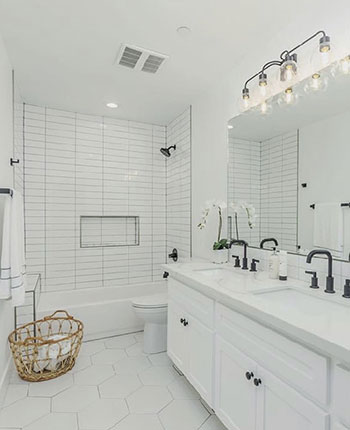
ARHexagon tile looks awesome but it can be royal pain in the butt. In this article, we share 5 tips for creating a hexagonal tiles curbless shower floor.
Hexagon Tile Floor Tips For Curbless Showers - How To Tile A Curbless Shower Floor
1. Plan The Layout
Always to start your layout at the most visible area of the shower—wherever you think that your eye is going to be caught. So if you had a tub, look at the front of the tub. I felt that the most visible area of the bathroom is going to be the shower. So we started our hexagonal tile from the back shower wall, starting with basically the half-pattern along with the room. And when you have a bathroom that has a vanity on the other side that takes up the entire area, you have a little bit more wiggle room. It doesn’t matter what’s underneath the vanity. So you can start from one side of the room and work to the other and not care about the end result underneath the vanity.
2. Symmetry
Symmetry on either side of the bathroom, making sure that you have at least fuller tile on either side of the shower and trying to eliminate having small slivers—basically diamonds—at the edge. So trying to have a fuller tile like this where the wall tile coming down won’t create any type of small diamonds. So symmetry is very important, just as important as starting on your most visible wall.
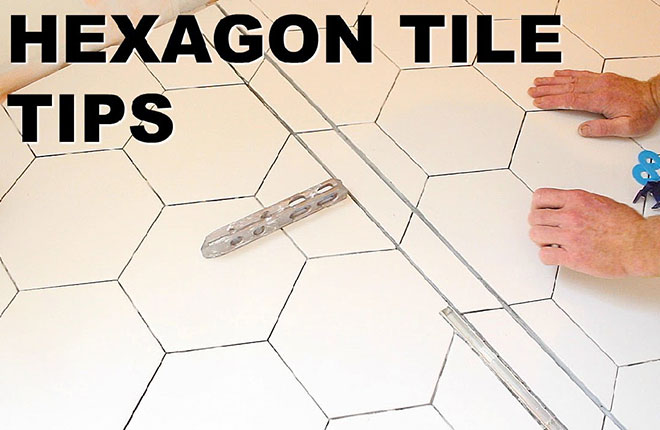
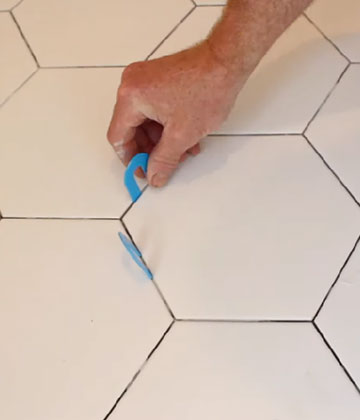
3. Horseshoer Shims And Seam Clips
On hexagonal tile, there are six sides, definitely the more challenge to keep all these grout lines even. You’ll find that it’s pretty frustrating to have all six sides to be even. But what will help you with that is, using a good spacer. We need to use horseshoe shims for that. And on the particular floor, I didn’t use this on every single one, just where I needed help squeezing things over. But what really did help were these seam clips. They come in a variety of different colors, dictating different size tile to use. So make sure when you look at a seam clip, you make sure that, first off, you have the correct thickness of tile. And then the spacer. This little spacer on here is about 1/16". The secondary benefit of it is that once you pinch them together, it’s holding everything in place. So on a hexagonal tile, I found it more important to have these seam clips just holding the whole unit together, so I can shift them around and not move my grout joints. Allowing them not to move helped out tremendously. Because any time that I would put out a shim, it moved multiple tile over rather than forcing one grout joint closer to the next.
4. Pitch Main Bathroom Floor
Slightly pitch the outside floor of the shower towards the drain. Basically just in case any runoff came out that is not still going to keep going further into the bathroom, that’ll actually drain back towards the drain. The same is true for hexagon tiles, slope them slightly toward the shower pan.
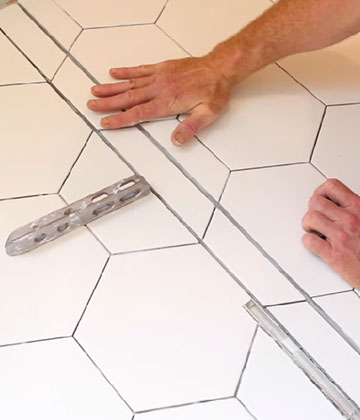
5. Spacers & Dulling Tile
Use the spacer for the channel drain to make sure that you have the correct distance between the inside of the shower and the outside of the shower. This tremendously helps to get everything in line on either side of the shower to make sure that you have the right spacing and the gap. Also use a hand pad. This is basically just a diamond scrub pad. And what this allowed us to do was to smooth out the edges of this tile since these are basically raw edges coming towards the shower. It’s really important to sand these down to make sure that they’re not sharp and cannot cut your feet.
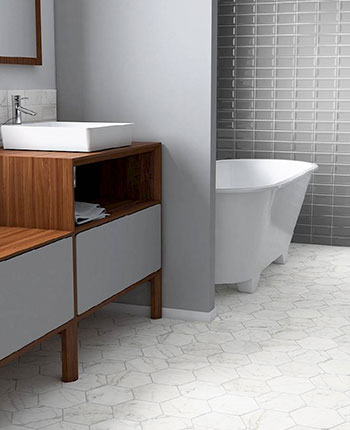
Tiling hexagon tile floor for curbless showers can definitely be an overwhelming process, especially if you’re doing a large bathroom and doing intricate tile work. Start out with your layout at the easiest part. Use the right thinset. Use the spacers. Use all these tools to make it easier for you, and you’ll find that you actually enjoy tiling as you move forward. And then once you got to the finished product, the reward is in just being able to use that shower and know that you built that bathroom from the ground up.


 16
16


- 3


- 8

- 8