EN
EN FR
FR PT
PT AR
ARCement mortar is commonly used to attach tiles to drywall or flooring. With the advancement of the paving process, cement mortar is no longer the only choice for laying tiles as there will be hollowing and damage of tiles after used for a period of time. The emergence of tile adhesive has brought more choices for tile installation. This article will introduce you the difference between mortar and tile adhesive, helping you find out whether you can use tile adhesive instead of mortar to lay tiles. Also show you how to lay tile using a tile adhesive.
Mortar Vs Tile Adhesive - Can I Use Tile Adhesive Instead Of Mortar To Lay Ties
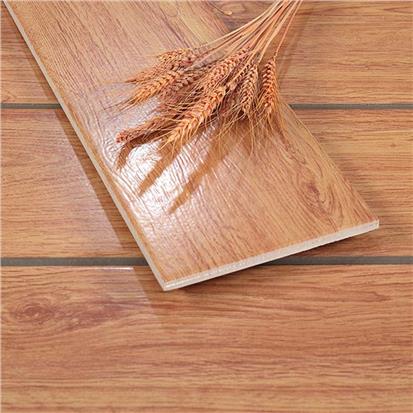
Cement mortar is commonly used to attach tiles to drywall or flooring. It has low cost and widespread application. The technical requirements for workers are higher, whether the ratio is reasonable, and whether the mixing is uniform will affect the adhesion force. But mortar has relatively low efficiency, tiles need to be soaked in water and clean brick bottom powder. If the sand quality is too bad, it will easily lead to a deterioration of the strength of the cement mortar, which will cause the tiles to hollowed.
Cement mortar is commonly used to attach tiles to drywall or flooring. It has low cost and widespread application. The technical requirements for workers are higher, whether the ratio is reasonable, and whether the mixing is uniform will affect the adhesion force. But mortar has relatively low efficiency, tiles need to be soaked in water and clean brick bottom powder. If the sand quality is too bad, it will easily lead to a deterioration of the strength of the cement mortar, which will cause the tiles to hollowed.
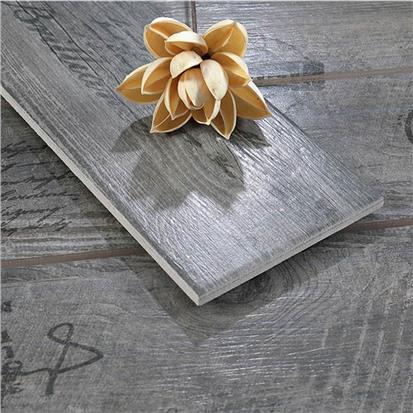
Tile adhesives are ready to use right out of the pail and are easy to spread. They have a long working time, so tiles can be adjusted into position. For certain tiling jobs, adhesives offer an easy to apply alternative to traditional thin-set mortars. Using a tile adhesive instead of a mortar depends on several things. Factors include the location of the installation, the size of the tile and the cure time needed before grouting. Walls, such as backsplashes and tub surrounds, as well as horizontal surfaces like countertops, are ideal locations for premixed tile adhesives.
Therefore, more and more people use tile adhesive to lay tiles. The cost is low, the efficiency is high, the construction is convenient and safe, and the practicability is particularly strong. Those who need to lay tiles may wish to try it.
Best Tools For Installing Tile Adhesive
- Notch Trowel
- Grout spacers
- Measuring tape
- Straight edge or level
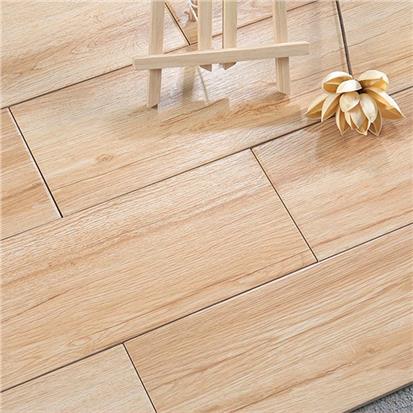
How To Apply Tile Adhesive
- Check whether the base surface to be tiled is clean, flat, smooth and firm. If it does not meet the standard, clean the surface to remove dust and contaminants.
- Prepare the tile adhesive and pour 20kg of tile adhesive and 4-5kg of clean water into the mixing tank.
- Stir the mixture of tile adhesive and water evenly. If you need to increase the adhesion, you can only add a special tile adhesive enhancer, not cement.
- Stir it evenly for the first time until there is no paste and particles, and then leave it for a few minutes. Stir it again and it can be used to paste the tiles. The configured tile adhesive should be used up within 5-6 hours.
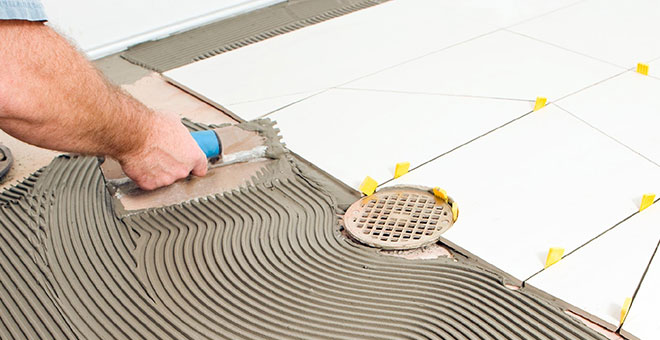
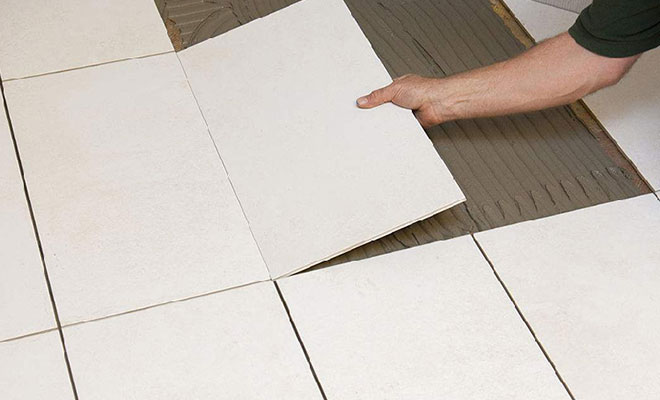
- When applying adhesive on the surface of the substrate or the back of the tiles, use a professional trowel to apply 1 square meter of construction surface at a time and then apply the next time.
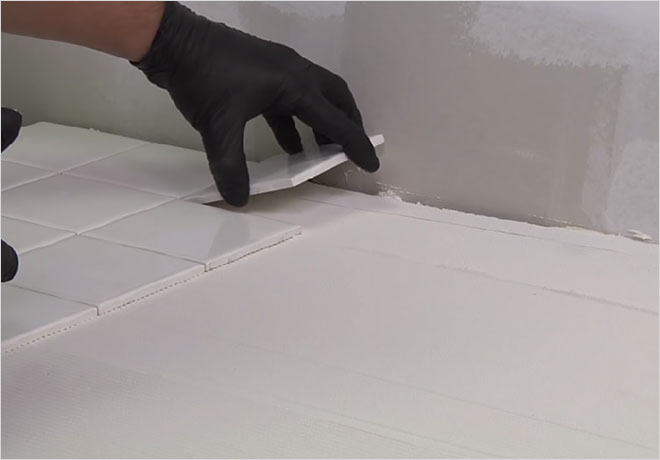
- Apply a thin skim coat of the adhesive to the substrate with the flat side of the trowel and start installing tile.
- Add additional adhesive and comb ridges in straight lines, holding the trowel at a 45-degree angle. This will ensure ridges are the correct height to support the tile.
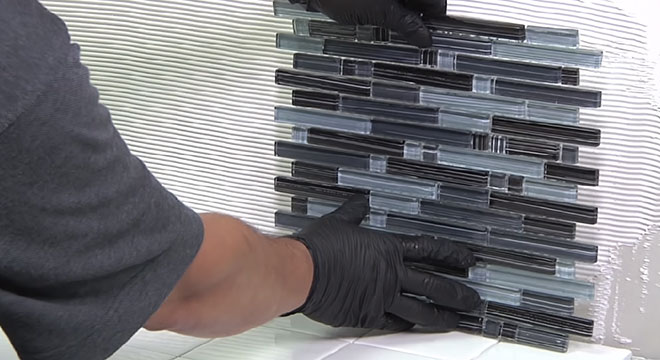
- Set the tile firmly into the adhesive. Move it back and forth across the ridges, but not side to side. Make sure each tile is level with those around it. Also, periodically lift a tile to confirm you are getting at least 80% coverage to the back of the tile.
- After the tiles are pasted, they must be cleaned in time. The longer the time, the more difficult the cleaning will be.
- Do not apply more adhesive than is required. Clean any excess material from the tiles and grout joints as you go along. Leave a quarter inch gap at perimeters and changes of plane. These will be filled with a flexible sealant or caulk after you’ve grouted the tile. The minimum time before applying grout is typically 24-72 hours.


 16
16


- 2


- 3


- 8

- 8