EN
EN FR
FR PT
PT AR
AR Kitchen Sink Replacing Tips - How To Replace A Tiled-In Kitchen Sink
2020/5/27 17:37:15
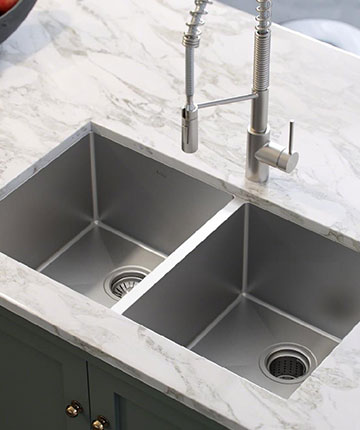
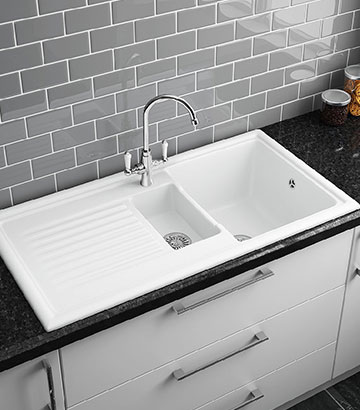
Bored of seeing your old tiled-in sink in the kitchen? Looking for a best way to remove it and install a new stainless steel sink? In this article, I’m going to share you some tips on how to replace an old tiled in undermount sink and how to go from this old beat-up to basin piece of garbage to a brand new modern stainless steel sink without replacing the countertops or searching for matching tile.
11 Tips For Replacing A Tiled-In Kitchen Sink
Before you begin the project, take the angle grinder and carefully cut along the edge to the exact size I need to install the new drop-in stainless steel sink. You'll probably have to cut through the sink as well. Now follow these 11 steps to replace a tiled-in kitchen sink quickly and easily.
- The first step is to turn off the water supply to the faucet and then unhook all of the plumbing fixtures.
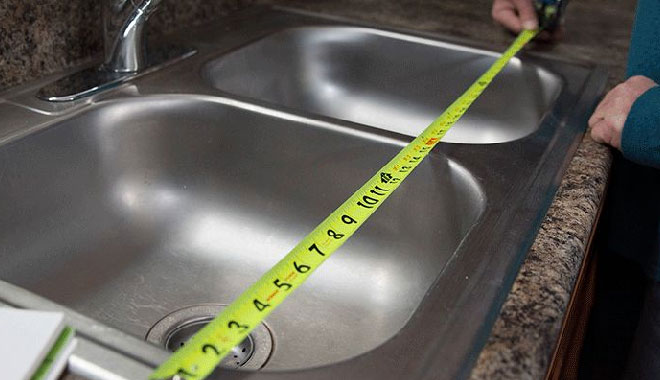
- Once you've done with that, it's time to get that old sink out of there, so your new sink should have come with a cutout template, measure that so you know exactly how big to cut the hole for the new sink.
- Then transfer those measurements to the countertop where you will use them to guide your cuts. Then use masking tape to trace out the hole you will be cutting and this will do two things. It will give you a line to follow while making your cuts and it will detect the tile around your cuts. Now a big part of this project is going to be controlling dust because you will be kicking up a lot of dust. You can set up a dust cloth around the sink so that the rest of your house didn't get dusty.
- Then it's time to actually cut the tile. Using a 4” angle grinder with a diamond blade, start cutting the tile all the way around the sink. You have to go slow, if you try to go too fast you're gonna end up chipping the tile, if you go slow you'll actually get a cleaner cup, also try to keep the blade as straight as possible to reduce chipping, so your grinder doesn't try to run off on you. This is a dust process, I recommend wear a respirator, some safety goggles and some earplugs which can protect your senses.
- Once you're done cutting with the angle grinder, go back around with achisel or something sharp to scrape away the excess mortar or chip away any extra mortar, being careful not to chip the tile. You should be able to pull out the old sink. If the old sink is larger than the hole that you cut, then you’ll also need to cut through the sink as well. If you have a metal sink, you can cut through it by putting a metal blade on your angle grinder.
- The next step is to cut through the plywood that supported employed sink. So to do that start off by drilling some 1/2 inch holes in the plywood in each corner and this will allow you to stick the blade of a sawzall in there, and then cut around the plywood pretty easily. Be careful with this saw since the vibrations can rattle surrounding tiles loose.
- Once you're done cutting, you can test fit the sink make sure everything's good to go, and then get ready for the final installation.
- Once you’ve tested the fit of the sink, get the old sink out and have the new sink sitting in the hole that you cut out for it. Apply a thick bead of silicone all the way around the edge of the countertop and make sure it's thick enough to make contact with the sink all the way around, so you don't get water leaking under your sink later.
- Then carefully set the sink in place without smearing the silicone, then go below the sink to install the sink brackets which are going to clamp the sink directly to the countertop. You're going to install these all the way around the sink.
- Once you've got the sink clamped down, clean up any extra silicone that is spilled out over the edges and remove the masking tape and now your sink is successfully installed.
- The only step now is to hook up the plumbing again. This is actually a relatively straightforward project and this method is about ten times easier and faster than trying to retile a new sink into the existing countertop.
Hot News

Hot Products
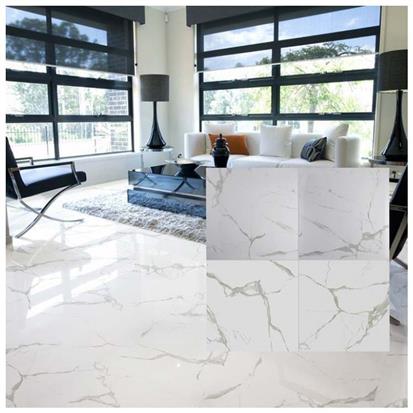
White Polished Ceramic Floor Tile
Size: 600 x 600mm


White Polished Ceramic Floor Tile
Size: 600 x 600mm


 16
16
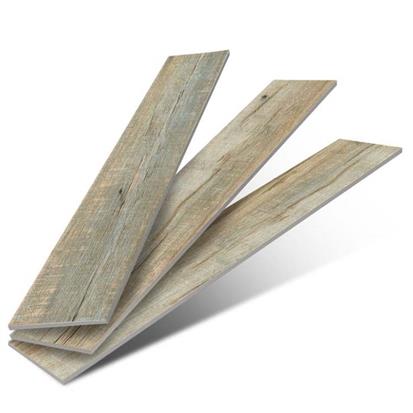
Light Grey Glazed Ceramic Wood Tile
Size: 150 x 600mm


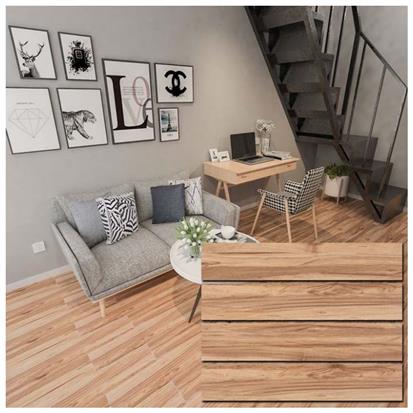
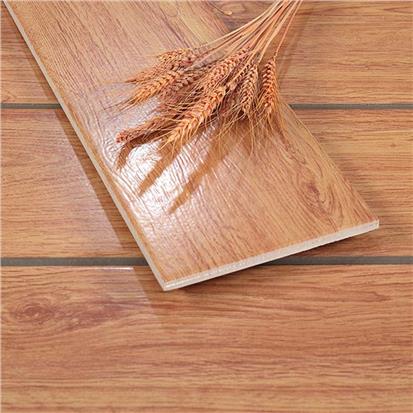
Brown Glazed Porcelain Wood Tile
Size: 150 x 800mm


- 2
Brown Glazed Ceramic Wood Tile
Size: 150 x 600mm


- 3
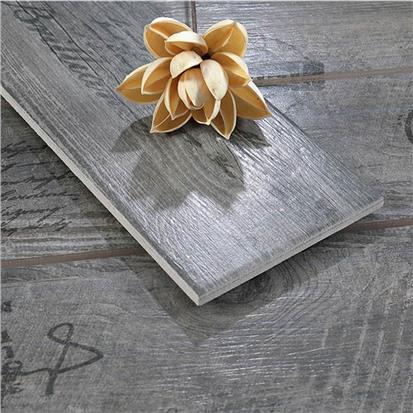
Dark Grey Glazed Ceramic Wood Tile
Size: 150 x 900mm


- 8
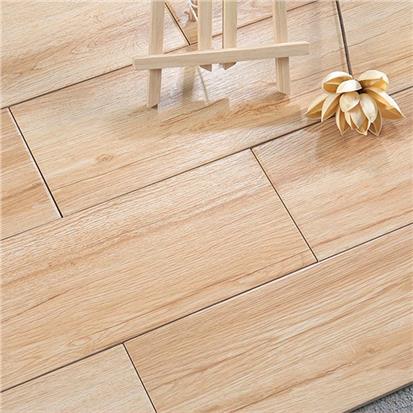
Beige Glazed Ceramic Wood Tile
Size: 150 x 900mm

- 8

Luxury Gym with Sauna Hidden Cam Massage Hot Sex Japanese Sauna Room Price

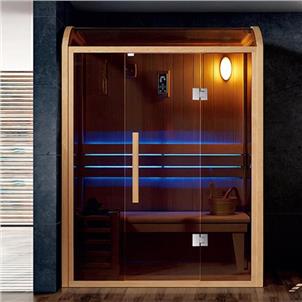
Hidden Cam Massage Harga Stove Sex Japanese Wooden Sauna Room
Factory price custom aluminum kitchen cabinets furniture design modern aluminium kitchen cabinet philippines