EN
EN FR
FR PT
PT AR
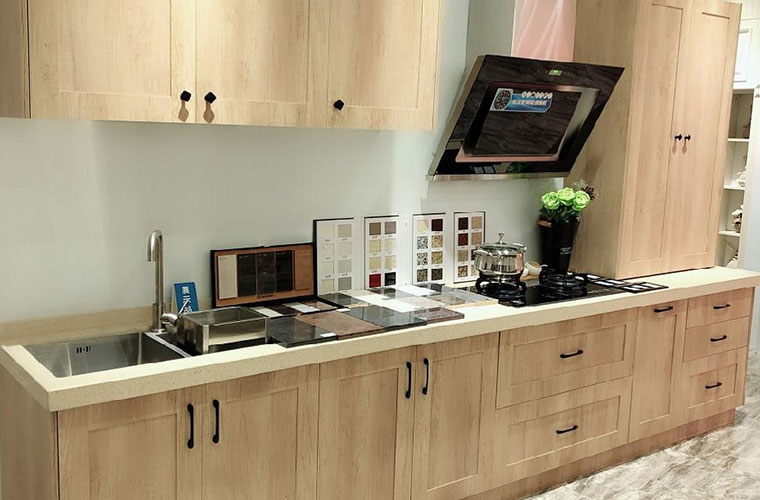
ARCabinet is a very important accessory in the kitchen, it represents the hearts of the kitchen, when you walk through the kitchen, the first thing you will notice is the cabinet. Then painting your kitchen cabinets is a lot of work and will usually take 25 or 4 days to complete. If you want to end up with a quality finished product, you need to master some painting skills. In this article, I will present you how to paint kitchen cabinet step by step, and share you some kitchen cabinet design ideas.
Cabinet Painting - 7 Steps On How To Paint Kitchen Cabinet
1. Choose the right paint material
Before you can tackle this project, it’s important to choose the correct paint for the job. There are many different options available, but I recommend Benjamin-Moore Auro Semi-Gloss paint. It’s a high quality paint with great coverage. It’s mildew resistant, stains wash off easily, it’s long lasting, zero VOC, and it’s easy to cleanup. Whether you choose to use this paint or not, be sure to use a high quality paint!
2. The Prepping is as important as the painting
The first step is to remove the doors and the drawers from the cabinets and you're just going to take a drill pop them off. The second step is to take a degreaser like mineral spirits and wipe the cabinet's down, so you can take off the gloss from the old finish, so the paint will stick better and also get rid of any grease or grime. And once you've done that the next step is to take some wood filler and some caulking and go around and finally find any gouges or holes in the cabinets and repair those before you go ahead and get ready to paint.
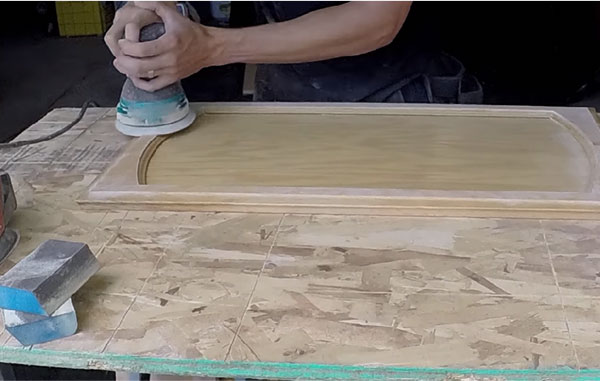
3. Sand
After you've wiped the cabinets with deep greaser, the next step is probably the most time-consuming and it is to sand all of the surfaces of the cabinets. You also need some sanding blocks with approximately the same grit for the corners and the edges and you can also get this done without the orbital hand sander.But it makes the job go a whole lot faster and it's much easier. You'll also need to sand the boxes. Then next fill in any gaps or wipe off any like anything sticky or oily or anything, wipe that off real good scrape it off. Once you've done that you vacuumed it off, wipe it off with a wet towel and then you're ready to prime.
4. Ready to prime
After everything's been prepped, they've been sanded wide and clean got everything set up, you have all your product. The first step is to prime the doors which is an important step in the painting process. You can from the back of the doors first, that way when you flip them over to prime the front, the front has a fresh or a damaged surface. Use a brush to get into corners and detailed areas. It’s important to use even strokes and finish back into the wet primer. When you're finished, using a grey coat x5 sprayer with a 515 tip ideally. I would actually be using a smaller tip maybe a 415 just so I have a smaller spray but the 15 is necessary, because I'm using a Benjamin Moore fresh start primer.
5. Paint kitchen cabinets
Using Benjamin Moore aura paint. In between coats on the drawers, work on priming and painting the interior cabinet boxes. Be sure to tape off areas around and inside the cabinets you don’t want to get paint on. You can spray the cabinet boxes as well, but that is a huge pain and it creates a lot of garbage. So, I actually recommend using a roller and a brush for this as it takes much less time than the cabinet doors and drawers do. It also requires less prep and will save you some cash.
6. Repeat
After the primer is to paint it, so go ahead and follow that same process until you have one coat of primer and two coats of paint and that's applicable to both the doors and the drawers out in the garage and also with the paintbrush and the roller on the cabinet boxes.

7. Let it dry
Once you’ve done 1 coat of primer and 2 coats of paint, let the paint dry for about a day and then put the hardware back on! You’ve successfully painted your cabinets and are ready to enjoy a brand new and amazing kitchen. More read: Cabinet Maintenance & Cleaning - How To Care For Kitchen Cabinets
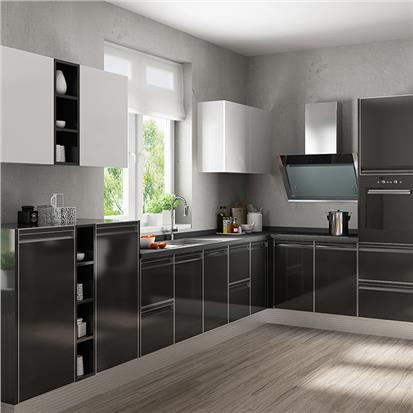
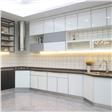
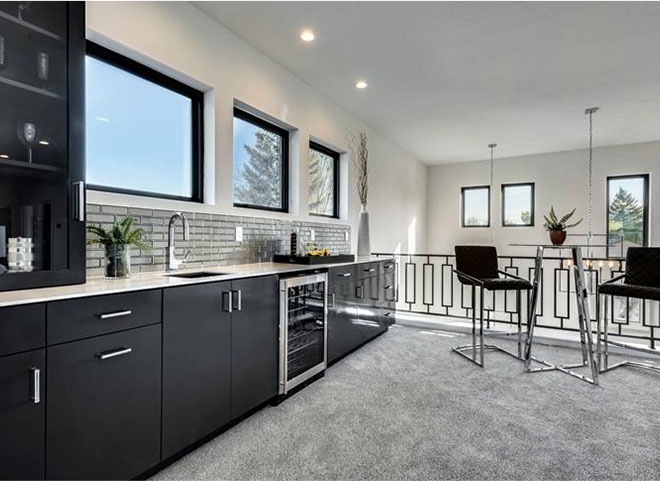
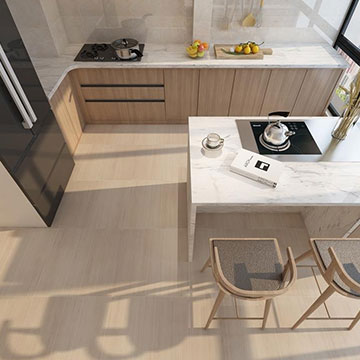
Kitchen Cabinet Design Ideas
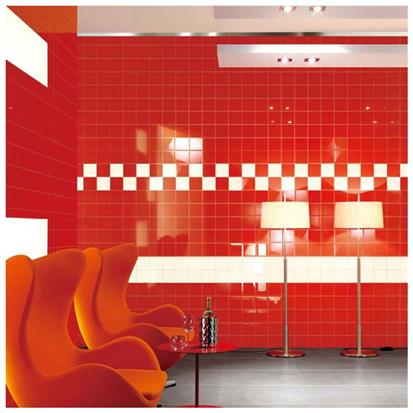
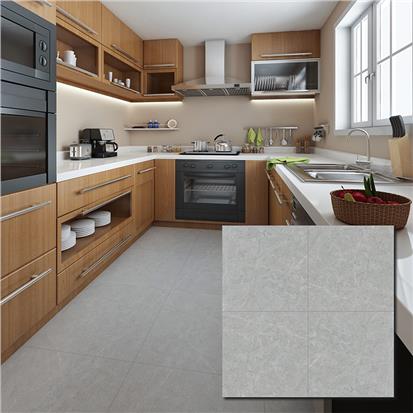
- Set against white countertops and blue-green backsplash tile with marble effect in kitchen. The color is a calm background note to the shiny brass cabinet hardware.
- An easy way to unify the look of a kitchen is to use one color for cabinets and trim. Use cheery yellow on the base cabinets extends up the wall to the casings and crown, contrasting with darker windowsill tiles.
- You can also make a dramatic impact by changing the color on a few doors and drawer fronts. Choose cabinets that are grouped together.
- Evoke that vintage feel by introducing a contrasting color match with the cabinet, like the dark blue subway tile backsplash, dark gray curtains and brown color wood look floor tiles in kitchen.


 16
16

- 16
- 16