EN
EN FR
FR PT
PT AR
AREasy DIY Floating Shelves - How To Build A Floating Shelf
2020/8/19 17:27:57
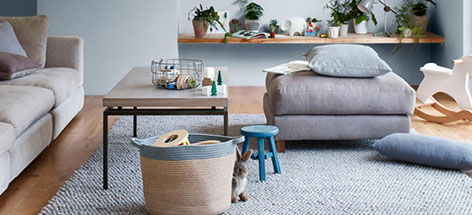
Loading shelves can be a great way to enhance and freshen up your space and whether you're looking to add some change to your bedroom or you just look at and give your bathroom a quick facelift, they can go a long way. But you don't have to stop there maybe you also want a solution to keep your gear organized. Today I'm going to show you how to build a floating shelf without any hardware and less than $10.
Tool’s You Will Need To Build Floating Shelves DIY
Here's a list of things that you'll need to build your shelves.
1/2 inch by 8 inch by 8-foot lumber
A 36 inch oak dowel
A circular saw
A drill
A sander
A half inch bit
Easy Shelf Ideas That You Can DIY - Steps On How To Build Floating Shelves
- Cut this number down into three equal parts but being able to have a chip corner, mark and then remove that first the final length of each board will be just shy of 31 inches and if the mark in the area. Add a piece of support under the bottom to catch the wood. After it's cut, check the depth of the blade. Using a speed square is a quick and simple way to keep the sauce straight. As you're ripping through the lumber, now repeat the same step two more times and now to get you three shelves.
- Next using a 30-foot section of half inch dowels and mark that to four inches and you should end up with nine pieces. it's going to be three of these per shelf.
- The next thing to do is mark three location for the dollars. Mark the very middle and then two inches from the outside on both sides.
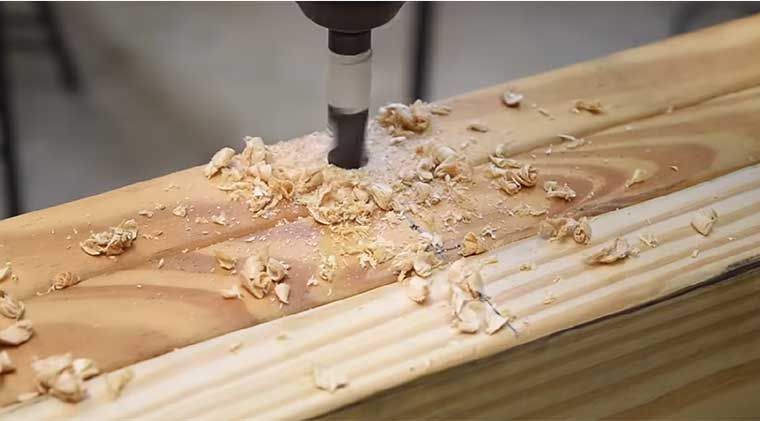
- Next find the center point of each line and put a mark. Take a half inch bit and then put tape around it and this will be setting the depth of the dowel. You can use a Philips screwdriver or an how to mark the point and this would help the bit to stay focused. Then just repeat the same step for all 9 holes.
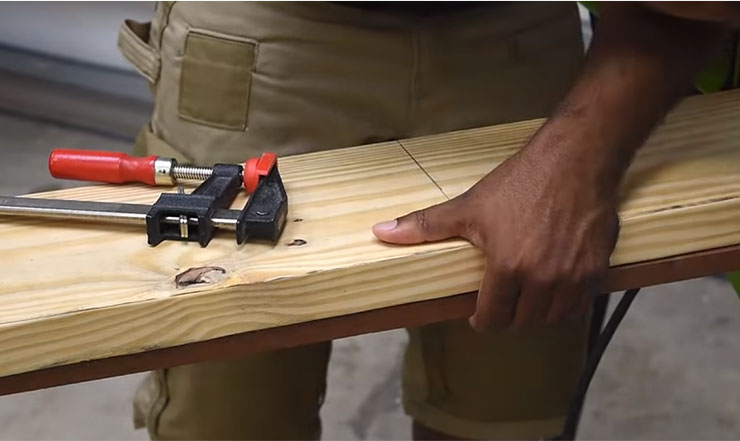
- While this is clamp, send it down and clean up this area. It would be easier to juror the hole first, then cut the wood. Use the tool that came with a circular saw and set it to make an inch and a half cut, then lock it in place and if you have a table saw this would be a much easier process to tackle and you can go ahead and rip that on your table saw as well.
- Mark each one of circular saw and also put marking points. So we know which side go where and which piece go at which piece. Using the half inch bit and also half inch downs dis make it difficult for the dowels to slide in and out of the holes, so that's fine for the back part of the shelf and wanna hammer that in. For the front side of the shelf, we need to extend the part of the dowel to slide in and out of the shells fairly easy and the best way to sand this down is to place one side and the Chuck of the drill and then take sandpaper and hold it alongside of the dowel. Make sure that the dowel slide in and out of the hole easily. Then just repeat the same process over and over until all of them is done.
- Now you can move on to sanding down all the shelves and you can also round over the ends using a router or you can use the sander.
- Line up the pieces on a drop the dowel pins inside of them and hammer goes down. Lock them in place, you can use wood glue and the pins slide in and out of the shelf. And then repeat the same steps for the remaining shelves.
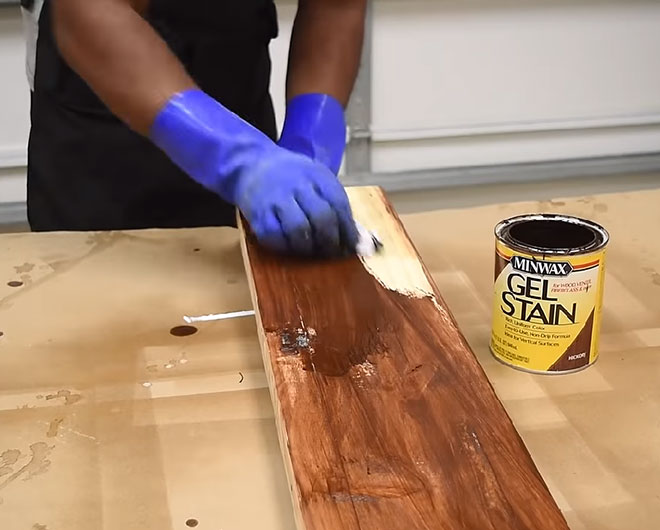
- The next thing to do is to lock the shelf into place. So install the screw right through the dowel and into the wood. Put a clamp at this area here to make sure it’s tight. Pre-drill and countersink the screw. To prep the shelf to take the stain, use one code of Minwax pre-stain conditioner. What this does is to help avoid any blotchiness from your stain and after the conditioner dries lightly send it down. Then add the stain. There is a few ways to apply stain such as wipe on technique where you just apply it and then you remove it with a rag, or use the Minwax gel stain.
- The next step to finishing the shelf is putting on a top color. Using a spray-on polyurethane. Usually add two to three layers of topcoat and sand lightly between each one of them and when it comes to the polyurethane you can use the brush on version to wipe on version or you can just spray.
- The last step for easy floating shelves DIY is to install the shelves that are colored. If you think wooden shelves are perishable or moldy, you can also choose to use ceramic tiles.
- The first step to mounting the shelves we want to add a few holes in the back bracket and to do so you want to level that, then find the stud in the wall.
- Next make a mark on the back bracket and on the wall if you don't have a stud finder you could use a screw and wall anchor. Then transfer the marking over to the other two pieces of wood and put some cross marks on those and drill a hole there.
- All you need to do is drill about half inch in because we want to screw to be able to go through the wood and into the wall but not interfere with the shelf itself. Now you're gonna place the wood over the mark that you put on the wall and screw into the stud and if you don’t have a stud finder you'll be screwing these into a wall anchor. Then align the shells with the bow pin and slide the shove into place. Repeat the same process for the remaining shelves and add the safety screw. You could also use a piece of scrap wood to help you space the shelves properly.

Hot News
Hot Products
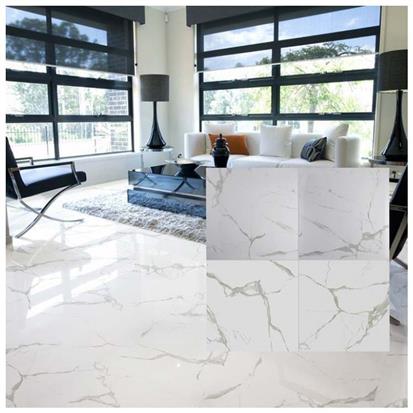
White Polished Ceramic Floor Tile
Size: 600 x 600mm


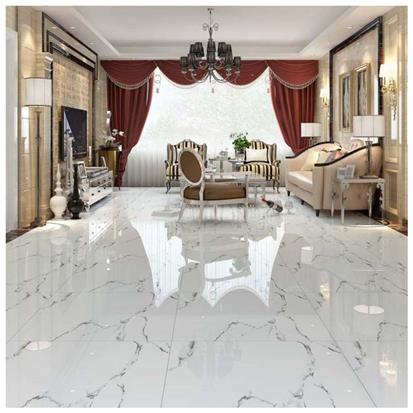
White Polished Ceramic Floor Tile
Size: 600 x 600mm


 16
16
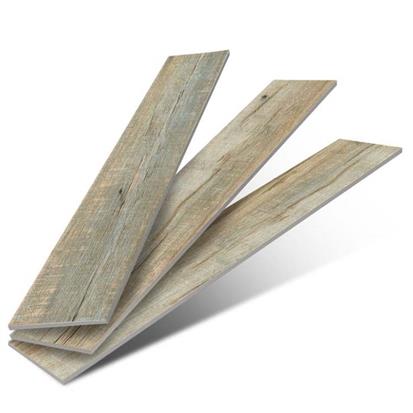
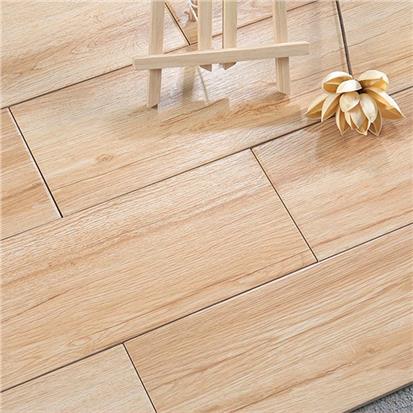
Light Grey Glazed Ceramic Wood Tile
Size: 150 x 600mm


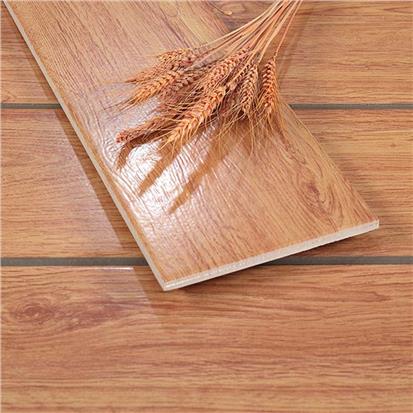
Brown Glazed Ceramic Wood Tile
Size: 150 x 600mm


- 3
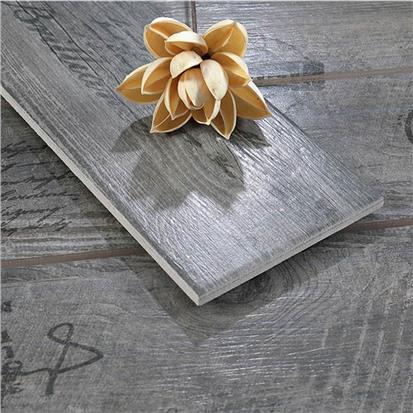
Dark Grey Glazed Ceramic Wood Tile
Size: 150 x 900mm


- 8
Beige Glazed Ceramic Wood Tile
Size: 150 x 900mm

- 8
Luxury Gym with Sauna Hidden Cam Massage Hot Sex Japanese Sauna Room Price

HS-193Y sex body massage hot spa/ foshan spa/ home massage spa for sex

Factory price custom aluminum kitchen cabinets furniture design modern aluminium kitchen cabinet philippines

Customized modern white aluminum kitchen cabinets design ready to assemble small aluminium kitchen cabinet set with sink