EN
EN FR
FR PT
PT AR
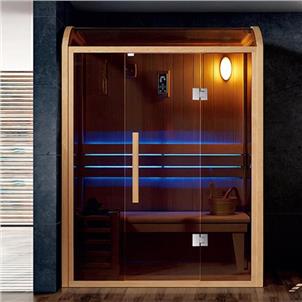
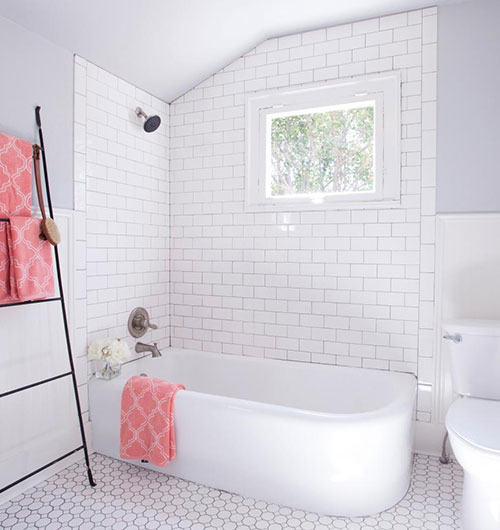
ARLooking for bathroom renovations? You can’t miss the ceramic tile shower! Ceramic tiles are one of the main décor materials used in the indoor and outdoor floor/wall, come in an array of colors, patterns, shapes, and sizes, have the characteristics of stain-resistant, wear-resistant, easy to clean and maintain, helping you transform your shower with stylish look. This article covers a guide on how to install ceramic tile in shower, presents some quick tips for better bathroom!
Best Tools For Building A Ceramic Tile Shower
Here's the list of tools for ceramic tiled shower.
- Cutter saw
- Drill
- Gloves
- Grout float
- Hammer
- Hole saw
- Marker
- Measuring tape
- Mixer
- Notched trowel
- Sponge
- Taping Knife
- Tile cutter
- Utility knife
- Screw nails
- Cement backer board
- Flat head nails
Step-by-Step Ceramic Tiles Shower Installation Guide
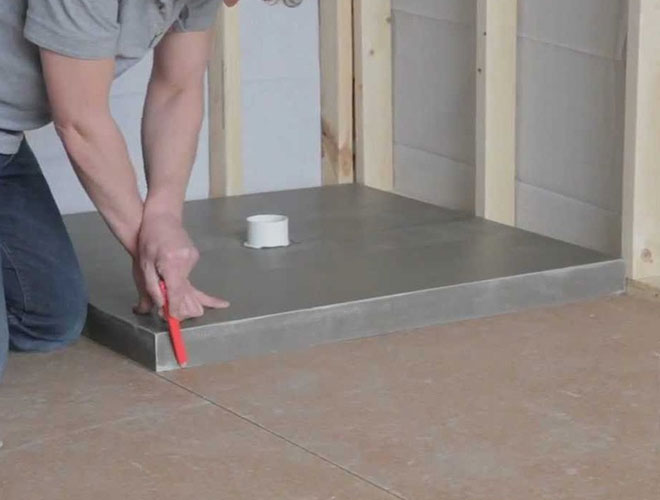
This project starts with an shower base already installed to build the ceramic shower stall, make sure you choose wall tiles and appropriate adhesive. Before purchasing the tiles, calculate the surface area and add a percentage to allow for breakages and spares add 5% for tiles laid out in straight lines and 10 to 15% for a diagonal layout. If your tiling layout is more complex than a straight layout includes a special patterns or borders or if your walls are not completely straight, draw a tiling plan. Before you start, shut off the water supply. You can also inspect the plumbing. Check the following 15 steps to create a ceramic tile shower.
- Mark the measurements of the shower walls and cut the cement boards to size, draw openings for the pipes and cut holes.
- Place the boards with the rough side facing the inside of the shower stall, screw them to the wall studs and base structure with treated wood screws or one and a half inch galvanized roofing nails. Let harden for 24 to 48 hours.
- Cover all the joints with nylon joint tape and coat well with polymer adhesive. Cover corners and junctions, then let dry.
- Next, draw reference lines on the walls to help lay up the tiles. Snap a vertical chalk line in the center of the wall at joints or on the outside edge depending on the desired pattern. At the bottom of the walls. Snap a horizontal line, perpendicular to the first line to indicate the top edge of the first row of tiles. Make sure that this line is level in square and that the tiles won't be touching the floor.
- Install tile finishing trims on the outside edges along the shower walls using flathead nails.
- Then using a notched trowel spread the thin set over a small section of the wall to one side of the vertical line. Hold the trowel at a 45 degree angle. For large tiles, use fast setting mortar because this type of adhesive dries very quickly. Tiles must be installed without delay. Using the knotch side of the trowel make horizontal grooves in the adhesive. Dampen the adhesive if it starts to harden. Cover an area of three to four linear feet at a time.
- Apply adhesive to the back of the first tile and place it at the base of the wall, twisting it slightly to make sure it adheres well. Use the reference lines as a guide to make sure the tile is positioned correctly. If you want use tile spacers at the bottom of the first row of tiles, so they don't encroach urther on the shower base. Check the tile for level and adjust it as needed.
- With the same technique, lay the rest of the tiles starting from the center and working outwards in a pyramid or step-like arrangement. Place as many full tiles as possible in the most visible areas and locate cut tiles in the least noticeable places. Always follow the reference lines. Use tile spacers to keep even gaps between each tiles. Don't push the spacers in too deep, leave them in place while the adhesive dries.
- During this time, cut the tiles that's necessary to fit around the faucet and showerhead and lay them up.
- Let dry 24 to 48 hours before grouting, remove the spacers.
- Before grouting, dampen the tiles with clean water, the mixture will be easier to apply and will have less tendency to stick to the surface of the tiles, which will make them easier to wipe clean afterwards.
- Mix the grout. The grout should be a uniform color and the consistency of toothpaste.
- For some of the grout, directly onto the tiles and work it into the joints using a rubber float. Apply the grout section by section, covering an area no bigger than 10 square feet at a time, hold the float at a 45 degree angle, don't grout gaps separating the tiles from other types of material from the shower curb or from the faucet. These gaps act as expansion joints and will be sealed later. Since grout dries fairly quickly, wipe off the excess as quickly as possible.
- When tiling is done, clean the surface with a damp sponge working diagonally, rinse the sponge, often using as little water as possible to prevent the grout from diluting. Remove as much milky residue as you can.
- After 24 hours when the grout is completely dry, apply grout sealer to the joints, wait 30 minutes then apply another coat.
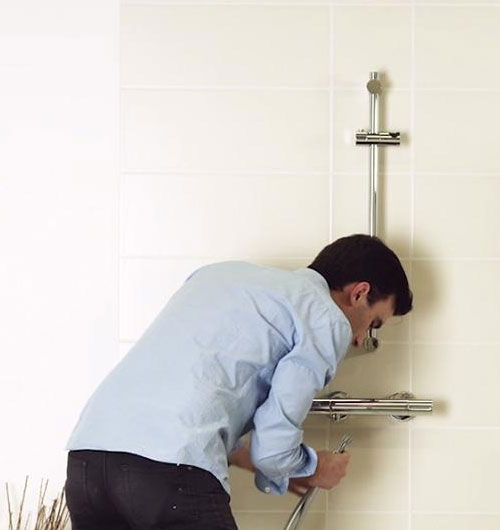
- Finally, install the faucet and showerhead, fasten the door frame and panels, apply silicone caulk to seal the gaps around plumbing fittings and along the door frame and walls.


 2
2


- 16